Tuesday, November 27, 2012

Grade 1: Marvelous Cezanne Paintings

There are times that it is impossible to contain my excitement over the art my students create, their wonderful creativity and the formulas for using art materials we come up with at the demo table. (see * below)

Chase


As my first graders finished up this project, I was overwhelmed with admiration, excitement, accomplishment, and a million other feelings. I stood there in the middle of the room beaming and mumbling how amazing the paintings were coming out...for a good 8-12 minutes. I just could not move past the beauty they had created. Here I go again.

Jeff 
These paintings were done much earlier this fall, but I kept forgetting to photograph them.
It is a spin I made on a project I viewed online.

I taught my 1st graders how to draw a large bowl sitting on a table and then how to fill the bowl with apples so that the apples were in the bowl and not floating. We used tempera paint and watercolor to make them the fantastic masterpieces that they are!

* At the demo table as I am explaining the project, how to use supplies, often a student will ask if they can use the materials a bit differently. Sometimes, the idea is genius or something I should have thought of and I call it a genius moment. These genius moments or just talking through the thoughts the kids have can enhance how we use the materials to our advantage.

My most overused words

We all have certain words we overuse (I think). I overuse the the words Awesome and Amazing. They are the two best words that describe how I feel about my students, the art they create and my daily feelings about exploring art making.
So, thanks to thesaurus.com, expect to read and hear more of these synonyms:
 fascinating, incredible, marvelous, shocking, stunning, surprising,unbelievable, wonderful


Sunday, November 25, 2012

Grade 4: White Birch Colorful Landscapes

My fourth graders did a great job with this landscape project. A couple years ago, I taught a lesson about birch trees but we created realistic background colors. This project called for lively, animated and colorful skies in which we painted and dripped paint using the wet on wet technique. We looked at an image of Klimt's 'Birch Forest' and then created our own.
Tyler 4VZ
Hall Display

Rachael 4VZ

My students practiced painting the birch trees using old Starbucks gift cards. The results were good but I think I prefer good, old fashioned, ripped cardboard for creating textures on trees.

Saturday, November 24, 2012

3rd Grade Monster Mama

My third graders are finishing up their Monster Mama portraits and did a nice job. For a better description, please click on the original post from last school year here.
Since I posted this project a year ago, I have seen it all over Pinterest so please link back to this blog if you do the project!
Sukhmani's, almost finished

Cole working on painting the hair
Alex working

Monday, November 5, 2012

Shells for the NJ Shore: Community Service Project

We have linked up with the Shells for the NJ Shore project to raise money to rehabilitate the Jersey Shore.
My students are spending the beginning 10 minutes of their art period designing a sea shell using marker. Parents, staff and I are coating the shells to seal the colors and adding a magnet to the backs.
We are also making wearable pins out of the small shells that have naturally pretty coloring and designs but are too small to turn into a magnet.
The magnets and pins will be sold for $5 in our community. All money raised will be given to the NJ Shore
Box of shells
4th grader working hard
Shell Details
Shell Details


Finished Shells


Friday, October 26, 2012

Frankenstein's Monster!

See yesterday's post below or by clicking here
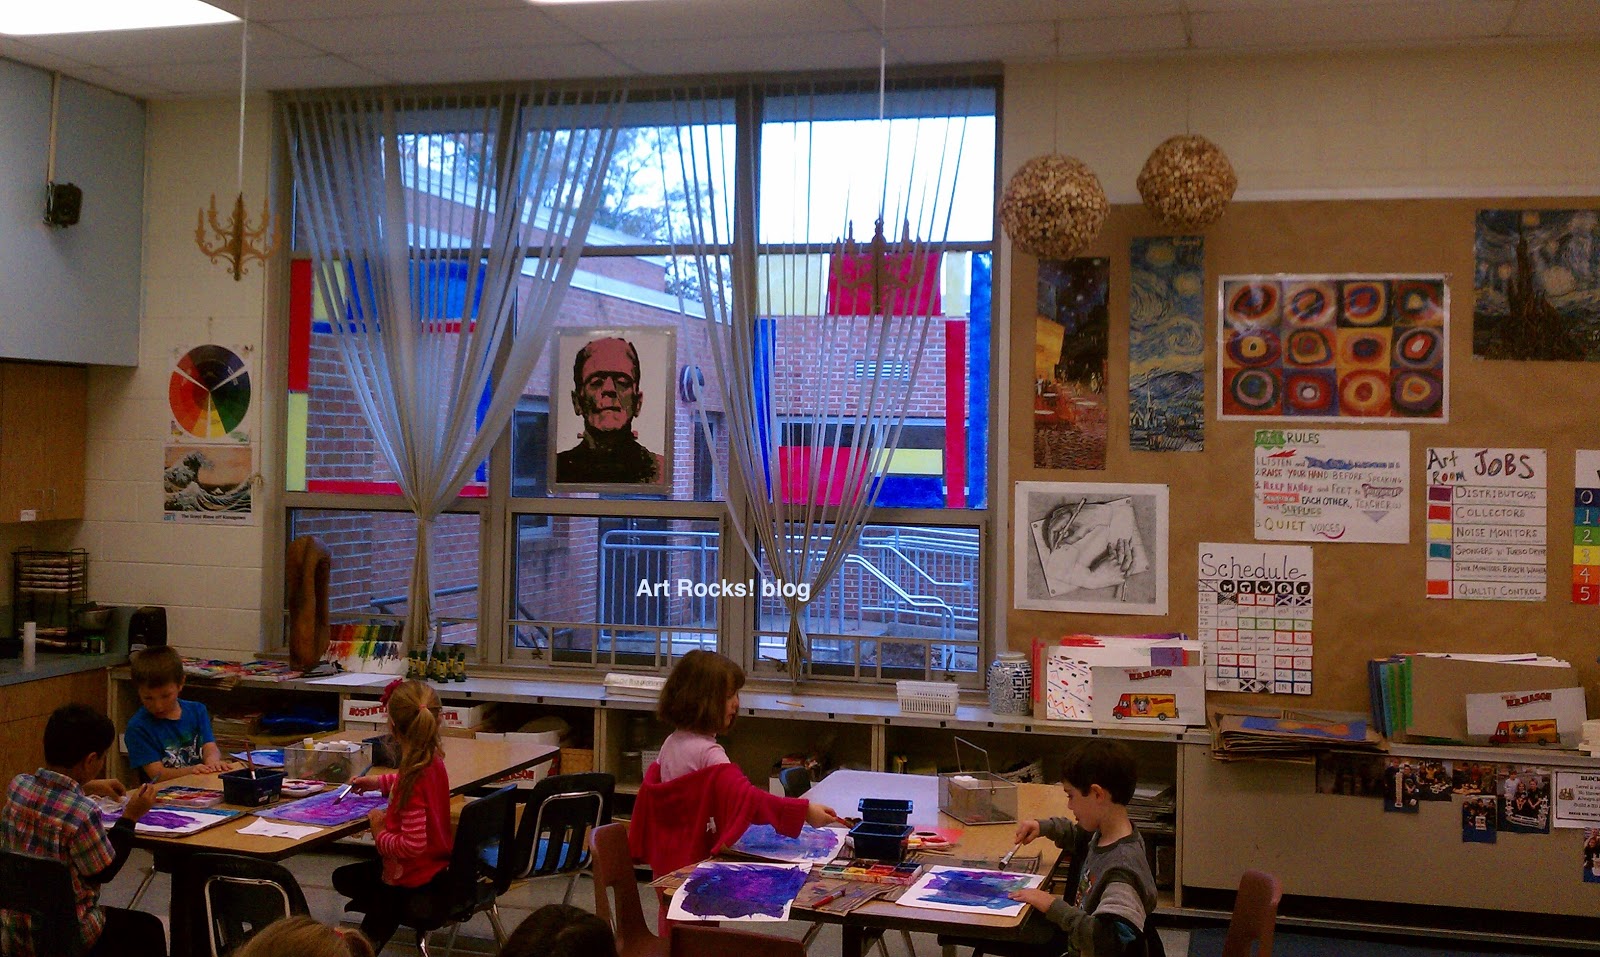
Frankenstein Monster hanging in the art room window.

Rory Mahon speed drying his final layer of paint. He used three stencils for this monster

Thursday, October 25, 2012

Guest Presenter: Rory Mahon and Frankenstein

Aren't we lucky??! 3rd graders in my 3W class are in for a treat tomorrow. Artist, Rory Mahon will be teaching students how to create stencils and use them in a piece of work. Mr. Mahon, who is a parent at BT has been so kind to create tomorrow's workshop and to work with students. I am excited to see the following stencil of Frankenstein and accompanying paintings that he created and is bringing in to share with us. 
Rory Mahon holding up his Frankenstein created using stencils


I have been impressed with Mr. Mahon's professional work knowing the difficulty of the materials that he works with, iron, metals and stone. 

Wednesday, October 24, 2012

5th Grade Yearbook Cover Entries!


Table full of entries for our annual yearbook cover contest. 
One cover wins, usually all covers are tiled on the back (which I love). 
All entries are displayed in our display cases outside my room by Mrs. Finnegan (one of the YB co-chairs) and voted on by the entire student body!  Fun times !

Tuesday, October 23, 2012

Grade 5 Art Enrichment: Self-Portraits Carving

I couldn't wait to share the preliminary images of my 5th grade Art Enrichment printmaking project. We haven't started to print yet but my kids are doing a great job!
Here is Grace G. working on her transfer of a photograph she took of herself (using iPhoto and MS Word) and the start of the carving she did this morning using a v-gouge.

Image is in reverse on block so it will print correct

\


Saturday, October 20, 2012

Grade 4: Aztec Suns

My 4th graders did a great job on this lesson I found on pinterest. Have not found the originating site so my apologies for not linking to it.
We explored warm and cool colors along with oil pastel blending. My students really enjoyed this project. We began by talking about the Aztec sun and it's place in inspiring the depiction of The Sun for many artists. I was pretty flexible in how they chose to place the warm and cool colors as long as they used an opposite color scheme for each half component. (ex. half the face warm, half cool. Half the rays cool, half warm, etc.) We alson explored creating straight and curvy/wavy lines.
Franki G.

David K. 


Grade 5: Name Designs

Grade 5 finished their names designs last week. We practiced using bold use of color with colored pencils. As beautiful as these designs are, trust me when I say that each student felt as if their arm was going to fall off at times from pressing so hard!
I only repeat about 35% of my lessons from year to year but this project has been a staple for several years now. The kids love to see how their name transfers and rotates to create some really awesome, and hopefully unreadable names.
Students utilized and colored the positive (letters) and negative (individual background) spaces to help fool the viewers' eye. Here are a few:


Alina D.

Justin L.

Kelly C.

Thursday, October 18, 2012

Art Bucks

I finally had a chance to use these art bucks today. It was unexpected but happened nevertheless. 

I had two super helper students in Mr. Belford's class that offered to clean a material we had used. The material (plastic cards) were a supply I didn't want to ask students to wash on their own after we painted with them because disaster could strike....
Two students, Sara and Kate, offered to wash them and did such a great job that I wanted to give them something. Candy as a reward is a no no and I didn't have anything else to give. I'm rambling. I gave them these art bucks to redeem for a free period of art. They asked to come in for recess today. They are happy, I am happy and appreciative and they get some extra time in the art room.

I found these art bucks on a site called Modern Met. They have tons of artists and other famous folks. Enjoy using them in your art room!!

Wednesday, October 17, 2012

Oldies but Goodies: Grades 6,7,8 Projects

I was looking for a photo and stumbled across these projects from a few years ago when I taught middle school at Timberlane.
These projects bring back SO many great memories from my time teaching there. Enjoy!

8th Grade Value Drawings of Animals
The drawing techniques were great to see implemented. Some of these kids had such natural talent


8th Grade 3D Art "Mini Rooms"
This project was really fun to do because the students constructed a dream room with no budget. They created mini furniture and added some really awesome personal touches!


6th Grade: Henna Sculptures
This project reminds me of the multiple burns I got when using the hot glue gun. Wire supports the back and was hot glued into the styrofoam base. Came out great. 


7th Grade: Honors Art 7 class
This has to be in my top 10 favorite middle school projects. 
Students camouflaged their hands into a painting they did. They spent quite a while creating the painting and then spent one class period camouflaging their hands. Key here is to save enough of the paint used in the painting so that the colors match. Also, prints help to camouflage better.


Grade 6: 
This is a display of art objects still lifes' using complementary colors.

Grade 7 or 8: Macro "zoom" Paintings
Again, I love, love, loved teaching painting which is actually a surprise because I am not a painter normally.

Grade 7: Old Cars
We altered old photos of cars in photoshop and then used a grid to draw the car on newspaper. Acrylic paint on top and affixed to a wood board. 


Monday, October 15, 2012

Tots on Tour: October 2012

This month for my Tots on Tour class at Grounds for Sculpture, we created portraits of 'Splat the Cat'. I couldn't resist giving this project a try that I have seen all over the internet but I believe originated on a blog found here.
After our tour, we enjoyed reading "Scaredy-Cat Splat!" and then got started creating these adorable paintings.


Sunday, September 30, 2012

Grade 3: Square 1 Art Monkeys and value

Third graders began their first project of the year for our art fundraiser. This year, third graders are doing a drawing of a silly monkey and then learning about shading and value.
Here is a picture of a monkey that is getting set to be colored in. Third graders are trying to create value using a colored pencil. Not as easy as it looks but they are starting to get the hang of it. By 5th grade I hope they are able to use value and shading like little Escher's!

Art Room Jobs

We are enjoying our art room jobs this year. After thinking about the daily jobs that we do in the art room, I listed the six most frequent tasks. Last year I had a "helper table" that helped with everything that day. This year, I am giving each table a job to do each week. The color for each job stays the same for the entire week for all of my classes to make it manageable. If we are not painting, the table that would handle washing the brushes does "quality control". Otherwise, my job is quality controller. 
So far, the kids seem excited for all of the jobs and are taking pride in them.

Monday, September 17, 2012

Tots on Tour: Sept. 2012

The weather this past weekend was incredible. I had a great turnout for Tots on Tour, a preschool art program that I have been teaching one Saturday per month for the past 7 years at Grounds for Sculpture.

We had a nice tour of Ming Fay's 'Canutopia' exhibit, walked a portion of the grounds and found the secret path to the lookout tower that gives a nice view of the grounds.

After reading a story, the children did a simple, classic color collage using tissue paper and water. It's an easy project for preschoolers to see the magic of color and to enjoy the process of overlapping shapes and/or arranging the pieces of tissue paper.

Here is one of my regular "Tots" named Lucas working on his collage and Lorenzo's final collage


Engaging Students via Blocks

I am really looking forward to this school year. We had a great first week and I am really thrilled to see the kids and know 90% of their names on day one. My first two years in elementary was tough to get to know over 400 names quickly. When at the middle school, it was much, much easier because I would see my students every day or on an A/B day schedule.

So, I am feeling great to know their names and know more about who they are individually.
Part of that individuality, is making the art room an environment that nurtures each student and recognizes interests that they have.

In my experience, one of the best ways to engage boys (and girls) is to vary the medium used frequently, to use tools that are cool (think gouges for printmaking) and to incorporate SCULPTURE! Teaching 7th and 8th grade sculpture classes that were 80% male when I was at Timberlane, I loved to see how much the materials that I shared communicated to them. Wire, plaster, building with cardboard, clay and carving...

In elementary, I share any and all of my favorite building materials whenever I can. But what about when I can't? How can I fill the need to build 3D structures?

With that thought in mind, I came across a good article over the summer about engaging boys in art during those "down times". The times when a student finishes a project early, did a great job and has some free time.

The answer is blocks. More specifically, Keva Planks.
I purchased a set and made an Architectural Center for early finishers.
In my intro week, wow, so many of my students seemed so excited to begin creating in this center.
I am definitely going to have to purchase more and create a secondary carpeted area to keep the building areas small, contained and with only 4-6 kids at each area.

Brand new bin of Keva planks and a guide book the kids are excited to use

Click on this picture to access the Art of Ed article that inspired me to add blocks to the art room!
Although my kids will not have a ton of time each class period to build because we really are quite busy with our projects, it is my hopes that having the blocks as an option will be one more thing to be excited about and motivate some students to work hard to finish up.

So, if you are ever at a yard sale and come across similar blocks, GRAB them! They are also available on amazon.com. I will be buying many more as soon as I can!

My 1st graders had some extra time yesterday and couldn't wait to build together


Sunday, July 1, 2012

The Art of Miss Chew

Add "The Art of Miss Chew" by Patricia Polacco to one of my favorite children's books about art education.
This book is a fantastic story about a girl and the experience she has trying to navigate school with a difficulty in reading. What I ultimately adore is the lovely bond she develops with her homeroom and art teachers because of her learning disability, love for and talent in art and the support system she develops from the passionate teachers in her school. Found at and borrowed from the wonderful Montclair Public Library and I am sure available on amazon.com, I will definitely be adding this book to my collection.

Sunday, June 17, 2012

1st Grade: Tooth Fairies

End of the year crunch and I was only able to squeeze this tooth fairy project in with my 1st graders at Toll Gate.
Next Year, I'll make sure my new group of 1st graders at Bear Tavern gets to do this project as well.
I saw a tooth fairy lesson on Pinterest that I modeled this lesson after. We talked about portraits and discussed the zillion ways a tooth fairy could look. Boy, girl, young, old. Next, I showed students how to draw a basic face and how to divide a face so that the eyes, nose and mouth looked correct. We added a simple body, hairstyles, toothy grin, etc. and then outlined in Sharpie. Students started to paint when finished. Day 2 was to used to finish painting and add glitter. The homeroom teacher also came in to work on a class gift with students for the 1st grade room parents. It was one of the only times this school year that I used glitter in the art room. It's funny because I never shy away from messy projects but there's something about glitter that gives me nightmares! Anyway, I manned the glitter table where the kids came to add the right amount of sparkle into their almost finished portraits and there was minimal mess.
We were able to critique the tooth fairies as a class on day 2 before finishing them. I will post detailed photos later on...